In this tutorial, we will cover briefly how you can install visual studio code in your system. One of the main reasons why developers use this editor is because it can be used on many different operating systems. Additionally, it can handle many different programming languages and extensions (files). This makes it perfect for web and backend development, without having to switch between different IDEs.
Price and License
The first question most people ask themselves when installing new software is if the software is free or paid.
Is Visual Studio Code free?
The good thing about this editor it is completely free of charge and you don’t need to worry about a software license.
How to install Visual Studio Code
Visual Studio Code (or short vscode) comes for all major operating systems: Windows, Linux, and Mac. The easiest way is to obtain the installer directly from the visual studio website.
https://code.visualstudio.com/
Directly after arriving at their web page you will find a button that will start the download of the installer which is suited for your system. Their website is smart enough to point to the correct installer for your operating system. In general, this is what you are looking for.
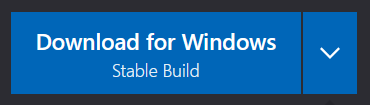

Note the little icon on the right site. When you click on it you will have the option for Insider builds. We recommend however the Stable builds as they have fewer bugs. Also, you can check out other downloads.

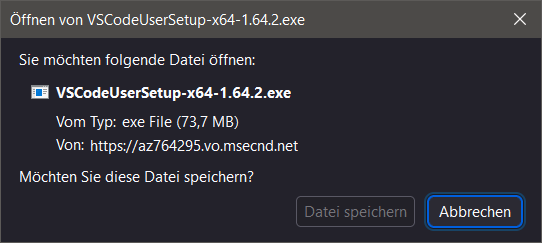
Windows vscode installer
The above images were taken for a windows operating system. There are several options to install vscode in windows. You can choose between x86, x64, and ARM architectures. And you can choose between User, System and .zip files. If you’re unsure which one to take, we recommend the default “user” installer.
Visual Studio is currently available for Windows 7 up to Windows 11.
Once you have downloaded the installer you can execute it. After accepting you can select some optional tasks. We recommend adding “Open with Code” actions for the context menu, as it makes your live much easier.
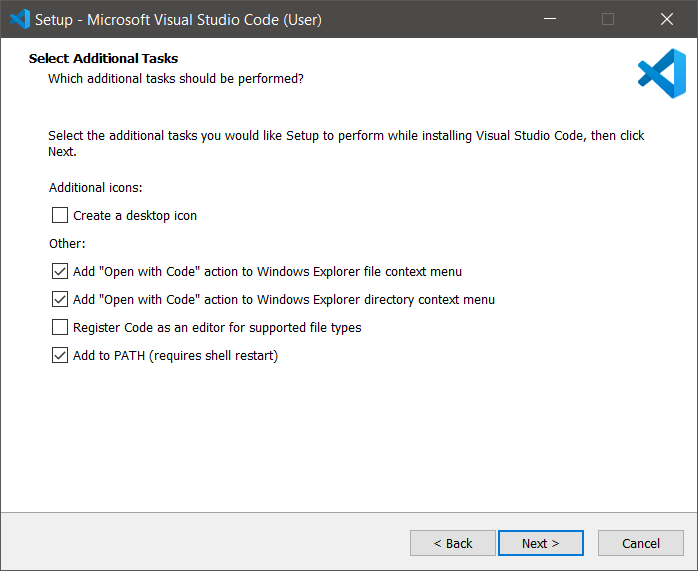
Depending on your system permissions it might be possible that you need to run the installer with admin rights.
Once the installation is complete you can find it in the windows start menu. Also, vscode can be opened with the command code if it was added to the PATH variable.
Linux vscode installer
Visual Studio Code is available for Linux systems. On their webpage, you can decide to install it using a deb package or an rpm package. A deb package can be used for Debian-like systems and flavors (this includes Ubuntu, XUbuntu, Kubuntu, Kali, Mint and other flavors). If you don’t know how to install a deb. package we recommend to have a look on “Install Deb package“.
The rpm packages can be used for Linux Red Hat, Fedora, centOS systems.


Arch Linux
Arch Linux is somewhat special for vscode. You can not use rpm or deb package managers. Check out their install page to get detailed information on how to install vscode on arch Linux (LINK).
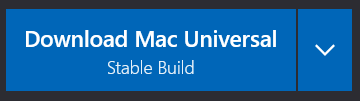
Mac vscode installer
You can find the installer for a Mac system as well on the webpage of Visual Studio Code.
Once you have downloaded the archive you can go to the browser download list. There you must extract the archive contents. After extraction you must drag the Visual Studio Code.app to the application folder. This will make in available in the macOS Launchpad.
You can now open vscode by double-clicking on the icon.
Install with Homebrew
You can also install vscode on Mac via the homebrew tool (short brew). For that just type in the terminal the following command.
brew install --cask visual-studio-code
Next steps
Now you have installed Visual Studio Code on your system. The next step is to install all extensions needed to run and build Kotlin programs.