This tutorial will guide you on configuring your Eclipse IDE to run and create Kotlin applications. This will give you the option to use your Eclipse IDE instead of Intellij or VSCode.
First, you have to ensure that the Eclipse IDE is installed on your system. You can skip this part if you already have a valid version on either your Windows, Linux (e.g. Ubuntu), or macOS operating system. In this tutorial, we will show you how to install Eclipse on Windows.
Install Eclipse
You can find a link to the installer at the bottom of the page. Just click on the “Download x86_64” button. It will forward you to an adequate mirror that you can accept to download the binaries.
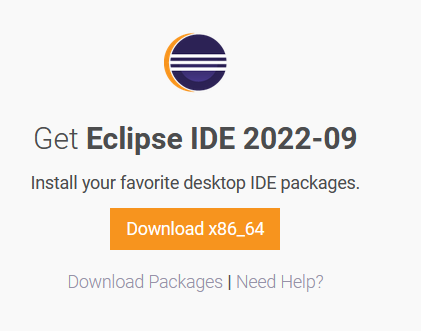

After you have downloaded the installer on your Download Folder you can double-click on it to run it. It will promptly ask you which kind of Eclipse you want to install. For our purposes it is sufficient to install the main IDE for Java developers as shown in the image below.


You can choose some optional parameters such as Start-Menu Entry, which are completely up to your choice to accept and select. To test that the installation was successful you can open Eclipse. If it is the first time, you have to choose the default workspace and then you will see a screen similar to the picture below.
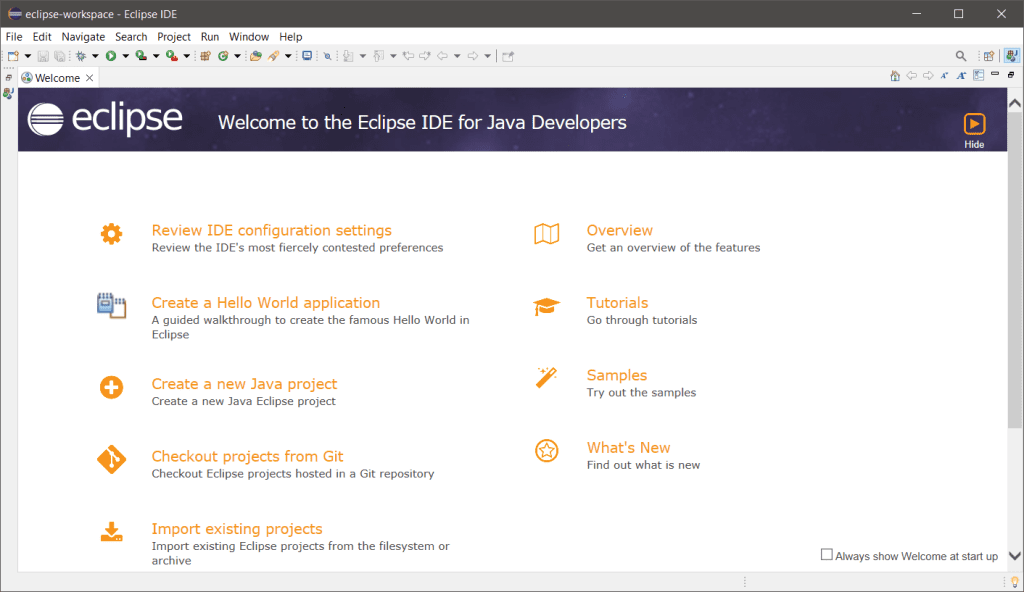

You should get used to Eclipse before trying to setup Kotlin in Eclipse. In the following of this walk-trough, we expect that you now the Eclipse IDE quite well.
Install Kotlin Plug-In
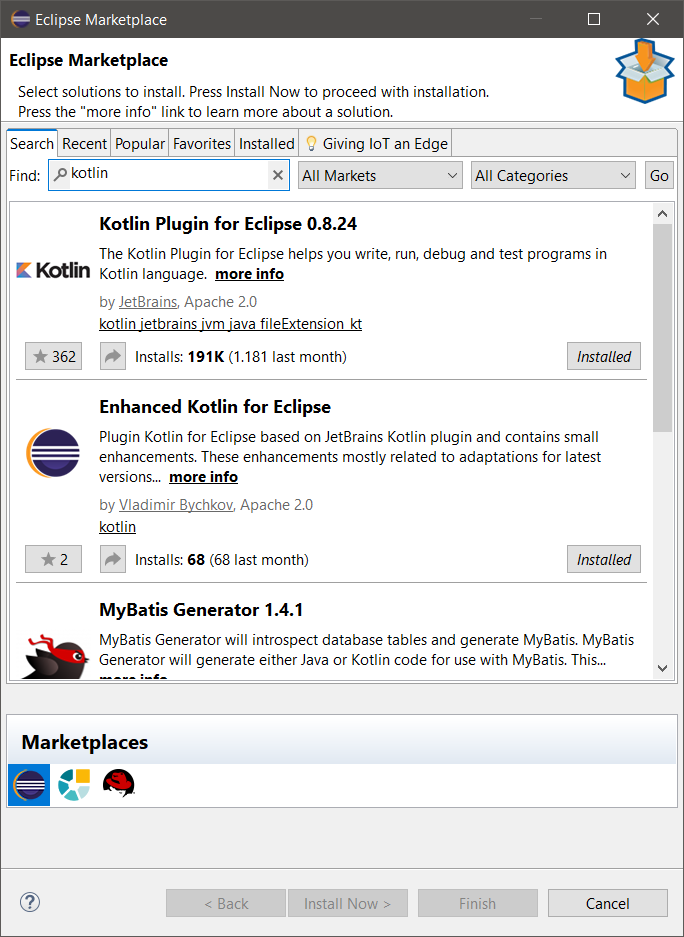
The next step is to install the Kotlin plugin. This plugin is necessary to get full support to develop Kotlin programs in the Eclipse IDE. It will give you (besides other) syntax highlighting, smart refactoring tools, and IntelliSense. To install the plugin you have to open the Marketplace.
You can find the Eclipse marketplace in the help menu. Once you clicked on the menu item it will open a new window. In this new window, you can search for the Kotlin plugin. Make sure that you install the official plugin from Jetbrains. After the installation, your IDE might need to restart.
You are now ready to create your first Kotlin Programm in Eclipse.


Kotlin Hello World in Eclipse
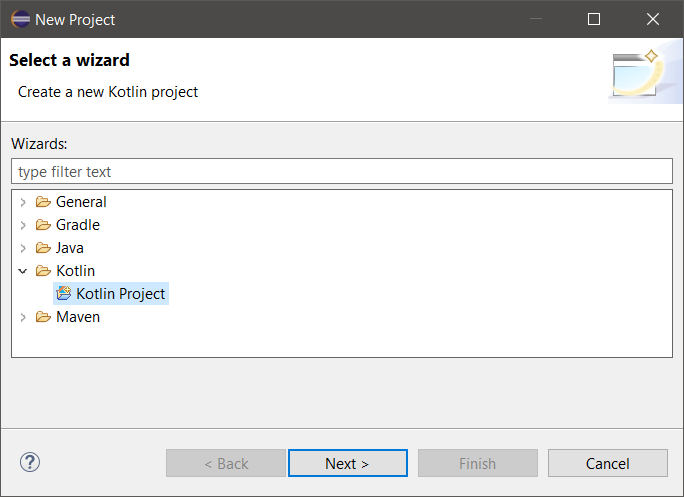
As the plugin is installed, you can now create your very first HelloWorld application. To do so open a new project. You will see the option to create Kotlin project. The project wizard will guide you through some configuration steps. Once the configuration is complete you can open the project in your Eclipse work bench.


Kotlin Perspective
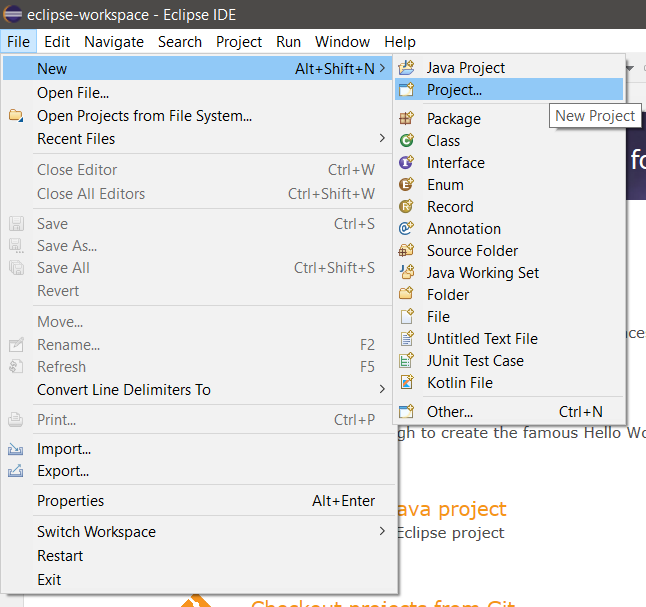
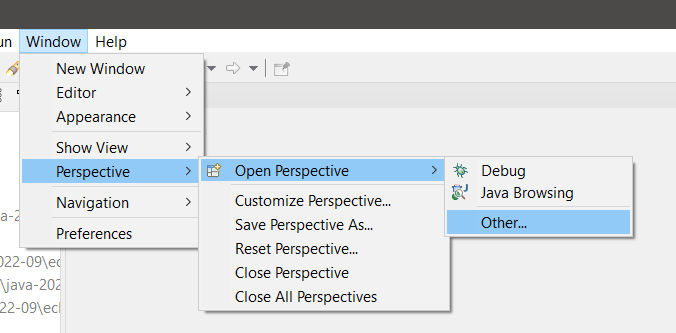
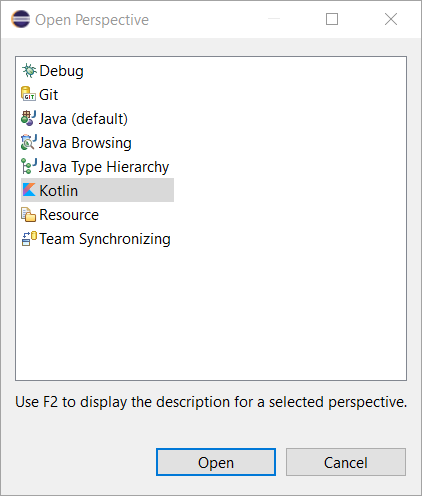
As the next step, you must set up a new Kotlin perspective. A new perspective will allow you to access all features of the Kotlin environment. To open a new perspective, open the menus as indicated in the image below. Afterward you can select a new Kotlin perspective.


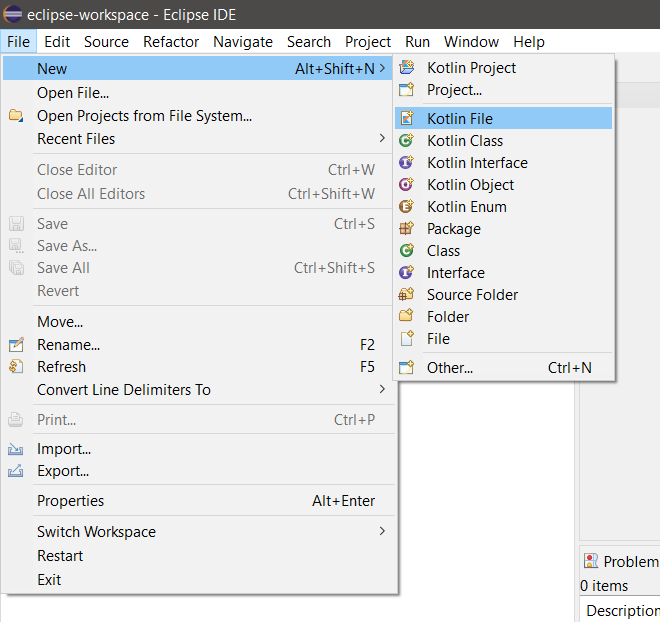
With this new perspective, you can now create finally your main file. You can create this file either by selecting it in the menu or by clicking Ctrl+Shift+N. The main file is actually just a blank file with a kt extension. It will be added by default to the src folder.
We have added the following code to the main function.
fun main() {
    println("Hello World in Kotlin")
}


When right-clicking the following menu appears. There you have the option to execute your program as a Kotlin configuration. After selecting this option, it will print the correct line to your console.
Congratulations, you have created your first Kotlin application in Eclipse.


Gradle and Maven Project
Bigger software requires proper build and management tools. Therefore it is important to be able to use Gradle and Maven projects in your Kotlin application in your Eclipse IDE. Gradle also provides a Domain-specific language (short DSL) which is supported by the Kotlin plugin.
Create Gradle Project
To create a new Gradle project, just click under “File” the “New” Option (or press Alt + Shift + N).
Import Gradle Project
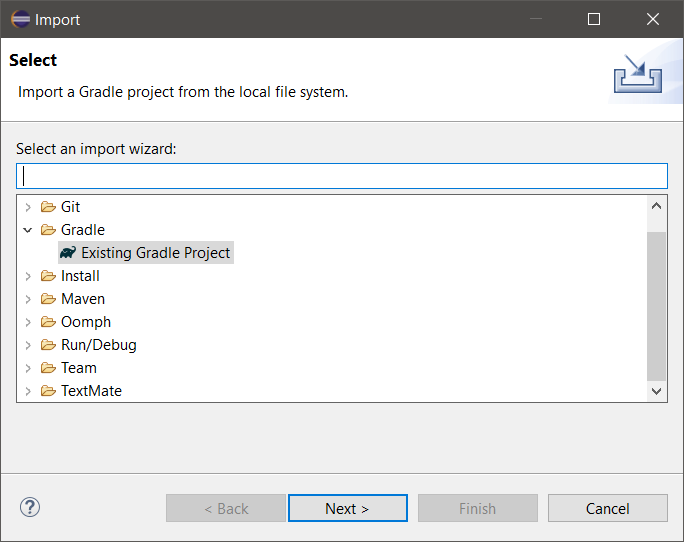
Importing an existing project might be a bit of a challenge. First of all, you have to import the project. You will find this option when you right-click on your package explorer and then select the “import” field. There you can select to import an existing Gradle project (see image below). The wizard will guide you through the import.

Once you have it imported you might want to check if no errors appeared. Depending on where you have imported the project it will raise errors like “Could not run build actions”. If this is the case, first delete the “.gradle” folder. Make sure to delete the correct one, because there is as well the “gradle” folder.
Second, you should make sure that you use the correct distributionUrl in your gradle-wrapper.properties. You can find the correct one if you create a new Gradle project and copy the field from the other project.
At this point your project is ready, but Eclipse does not yet recognize the Kotlin code. For that create a new Kotlin class in you project. This will trigger the correct import. Now you can select the Kotlin main class and run the application.